Sterling Silver Scindapsus Plant Care

Sterling Silver Scindapsus plant care

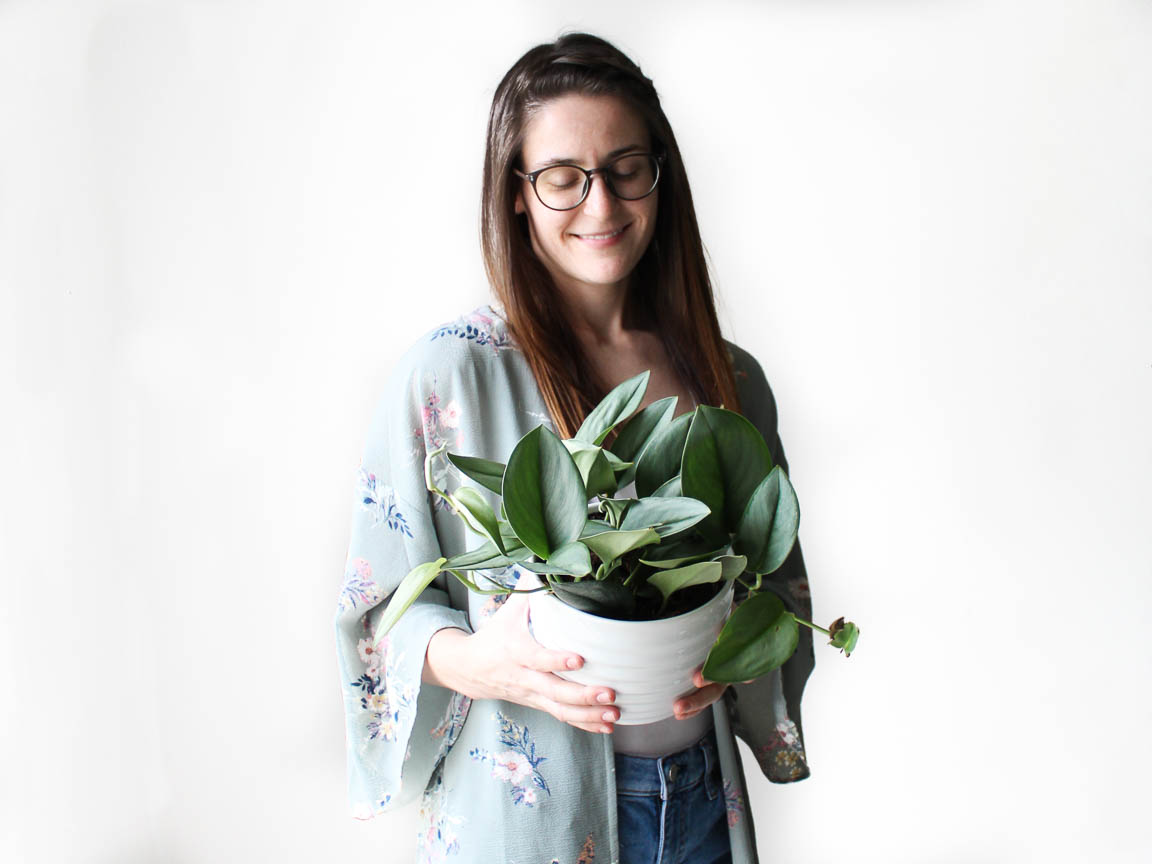
I’m always on the lookout for sturdy, gorgeous plants that are also easy for everyone to care for. Sterling Silver Scindapsus plants are almost impossible to find, so when this glittering plant caught my eye, I couldn’t resist adding it to the family! I only just realized that this plant is actually quite rare and has only recently gained popularity among plant owners. I can see why… the buttery-smooth, mint-jade leaves that shimmer in the light, the added bonus of its ease of care. They’re gorgeous and practical!

Sterling Silver Scindapsus plants originated in the jungles of Southeast Asia and are related to Pothos, Philodendron, and Monstera plants. The similarities are obvious with their hearty vining leaves that can trail or be trained to climb. Read on to learn how to care for this “it” plant that’s recently made the spotlight.

Sunlight

Sterling Silver plants grow best in medium to bright, indirect light. The best place to keep this plant is near an East-facing window. A healthy dose of sunlight will help it grow full and lush! These plants will also do well with artificial light, such as from a grow light.

Water

Sterling Silver vines are sensitive to overwatering, so the top few inches of soil should be left to dry out between waterings. However, similar to succulents, these plants can hold a small amount of water in their thick leaves, and can tolerate more infrequent waterings.

Soil

Sterling Silver plants need well-draining soil to keep from becoming waterlogged. A cactus or succulent mix, or houseplant potting soil mixed with perlite or orchid bark will help water drain quickly. Be sure the pot you choose has a drainage hole.

Humidity

Like Monstera plants, Sterling Silver Scindapsus plants are native to tropical climates. Not to worry! They’ll thrive in low humidity conditions but will benefit in dry climates from frequent misting, grouping them with other plants, or keeping a humidifier nearby.

Fertilizing

Spring and summer are the best months of the year to fertilize Sterling Silver plants. Fertilizers that supply higher nitrogen levels will help keep leaves lush and growing strong.


Have you ever seen one of these gorgeous plants? They’re nearly impossible to find, so keep a lookout if you find yourself in need of one of these plants!

XO,
Micah

How to Easily Revive a Dying Houseplant

dying houseplant satin pothos

If you’re anything like most plant owners, you’ve probably had a houseplant die on you once or twice. (In the case of my succulents, the number is…somewhat greater.) The next time you see a few withered, brown leaves and drooping stems, don’t immediately give up hope. Your dying houseplant doesn’t have to meet an untimely expiration. I’ve put together a list of the common symptoms of a struggling plant, so you have a better chance of reviving it, as long as its roots are healthy. Check the following:

Water Quantity
Water is an essential part of keeping a plant alive and healthy. However, overwatering can actually harm your plant. A dying houseplant as a result of overwatering will have obvious signs: saturated soil and wilted, yellow leaves that are drooping. If this is the case, leave your plant in bright, indirect light and let the soil dry thoroughly before watering again. In extreme situations, repotting your plant in fresh soil in a pot with a drainage hole may be needed.

On the other hand, underwatering plants can lead to their demise as well. Too little water and your plant will show dry and crispy yellowing leaves that curl inward. Naturally, the soil will be dusty and dry, too. To remedy an underwatered houseplant, give it a thorough and even watering until water seeps out of the drainage hole of the pot. In the future, be sure to water your plant as soon as the top two inches of soil are dry.

Sunlight Levels
All houseplants respond to sunlight differently. Some require bright, direct light while others can thrive for weeks in low-light conditions. Improper light levels can quickly result in a dying houseplant! For a low-light plant that is getting too much sun, leaves will appear crispy, with dark patches that look similar to burn marks. Move your plant away from the source of light and trim off all affected leaves.

A plant that isn’t receiving enough sunlight will have stunted growth, small leaves, and weak stems that may feel limp or droop. Remove any dust that has collected on the leaves to ensure proper photosynthesis and move it to an area that receives bright, indirect light. Watch to ensure your plant is reviving, but not receiving too much sun.

Nutritional Intake
Plants need nutrients, which is often found in potting soil. But when this limited quantity runs out, your plant may need a boost. A lack of nutrients will slow a plant’s growth and may be the reason for a dying houseplant. Deformed and browning leaves, as well as stunted growth, are signs your plant is lacking key nutrients. The best way to revive a plant in this situation is by repotting it in fresh, nutrient-rich soil. Fertilizing regularly will also help replenish the nutrients your plant needs to grow healthy and strong.

Your plant may not be beyond hope, even if it appears to be on its deathbed. With a little tender loving care and close attention to its water, light, and soil requirements, you can revive your plant in no time! Have you brought a dying houseplant back to full health? I’d love to know your stories!

XO,
Micah

3 Tips for When You Bring a New Plant Home

tips for bringing a new plant home

Everyday care for your indoor plants is a fairly straightforward process, but what about those first few days after bringing a new plant home? If you’ve recently purchased an indoor plant, you’ll want to acclimate it first. This is a simple and easy way to give your plant a healthy and stress-free transition into your home. Here are my top three tips:

Tip #1 – Know your plant’s care preferences.
Knowing how to properly care for your new plant is the first step! Look at the accompanying care tag or do a quick search to learn about your plant’s lighting needs, water requirements, and environmental factors (humidity, etc.). This blog has lots of resources on how to care for indoor plants that range from specific plant care to more generalized tips and tricks and how-tos. Understanding what your plant needs will ultimately determine where you’ll place it and, of course, how to care for it!

Tip #2 – Keep your plant temporarily quarantined.
A pest infestation can quickly happen without careful attention when you first bring new plants home. No matter how well cared for your plant was at the nursery or garden center, bugs and diseases can still pose a risk for your other plants. It’s a good idea to keep your new plant in a separate location for 1-2 weeks, so nothing transfers to your existing plants. During this period, check daily for common plant pests and be sure to remove these bugs before moving your plant.

Tip #3 – Find your plant’s ideal location.
The final step of plant transition is to determine the best location for your plant in your home. Plants that enjoy bright light will need to be closer to windows, while plants that prefer low light can camp out most anywhere else. Plants that love humidity will do well in the bathroom or kitchen. For all plants, be sure to avoid areas that are drafty or near vents. Your plant will let you know if its new spot is ideal!

That’s it! Following these simple tips can help your plant thoroughly enjoy its new home from day one. What other ways do you provide some extra care when bringing a new plant home?

XO,
Micah