The Easy Way to Loosen Compacted Soil in Houseplants

loosen compacted soil in indoor plants

If you’ve ever noticed that when watering your plant, it seems to pool on the surface of the soil instead of soaking in? Or that the soil appears hard and dense? It’s time to give your plant a little love. Compacted soil is a common issues among potted indoor plants, where small creatures found in outside dirt (bugs, worms, micro-organisms etc.) don’t usually tend to live.

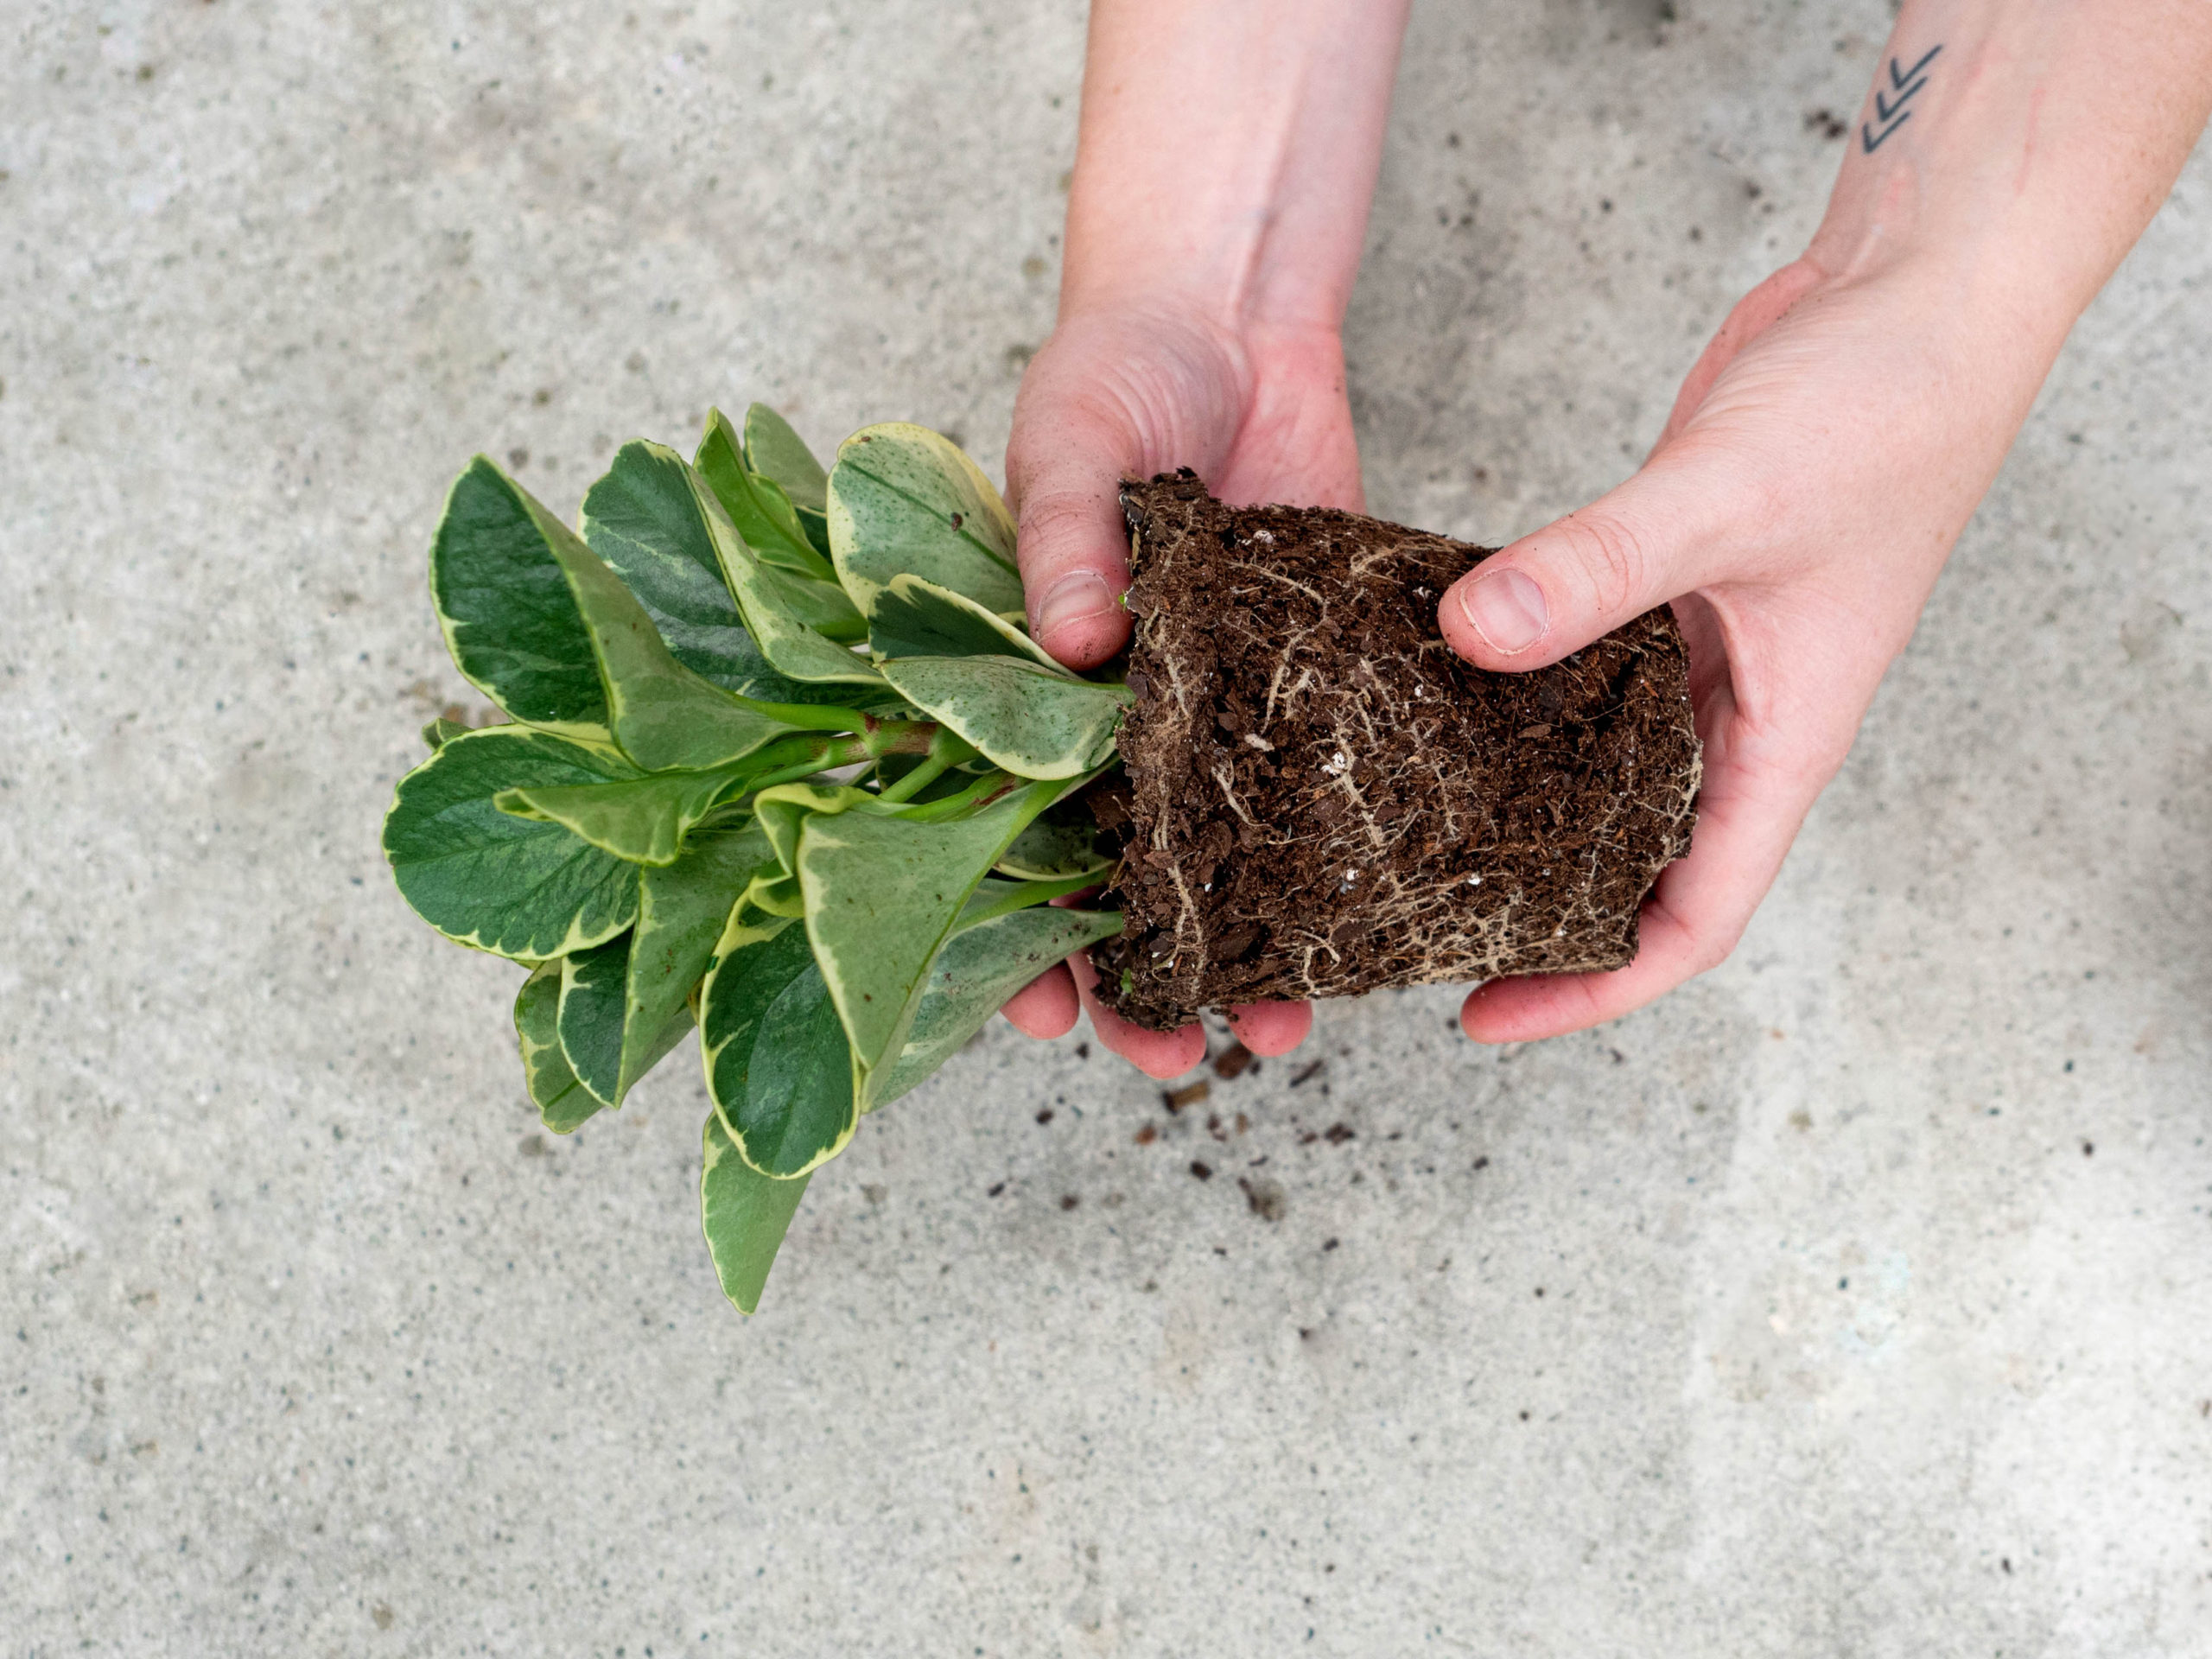
Over time, the isolated soil inside your plant’s pot will become dense without the natural aeration provided by these organisms. It’s up to us to make sure our houseplants are getting the proper levels of nutrients, water, and oxygen from the soil. First of all, it’s important to understand why soil becomes compacted, so you can take the proper steps to correct the problem.

Why plant soil becomes compacted
The soil in your plant’s pot can be compacted for various reasons. The most common include:

  1. Soil that is too old. Your houseplant’s soil may be free from bugs or mold, but that doesn’t mean it’s healthy for your plant. The limited amount of soil inside a pot isn’t meant to last forever—and neither are the fertilizer and aerating materials found in potting mix. Generally, fast-growing plants should have soil changed annually, while slow-growing plants like the Snake Plant can hold out for longer.
  2. Soil is the wrong type. It shouldn’t come as a surprise that using topsoil or dirt from the backyard is bad for your indoor plants. These types of soil are for different purposes than for providing a proper ratio of nutrients and aeration for a potted plant. Potting mix is available for many different types of houseplants and succulents to ensure the best growing environment for them.
  3. Soil is overwatered. Sometimes, compacted soil is the result of a plant receiving too much water too often. Top watering a plant can create hard, dense soil by flushing out needed aerating materials. With only soil left, each new watering will settle it lower and lower in the pot. Bottom watering is an effective way to relieve this issue while providing plants with a more thorough watering.

The problems associated with compacted soil
It may now be a little more obvious how compacted soil can affect your potted plants. The effect of dense soil can have a significant impact on your plant and increase the risk of it becoming unhealthy or even dying. Primarily, soil compaction can lead to a lack of water flow. If it seems like you’re watering your plants often, and yet they still look parched or yellowed, it’s because this water can’t travel properly through the soil to the roots.

Similarly, overwatering can quickly saturate your plant, and cause any pockets between clumps of soil to become filled with water. This saturated soil makes it difficult for your plant’s roots to get the oxygen they need. And with each new watering, the soil becomes heavier and more compact.

Limited nutrients are also a common effect of soil compaction. Nutrients and fertilizer found in fresh potting mix won’t last more than a few months after an initial repotting. They may be flushed out with every watering and lose potency. Or, if fertilizer is added to the top of the soil, it may not be able to travel down to the plant’s roots because the soil is too compacted.

Poor root growth is also a result of compacted soil. Plants prefer to stretch their roots as they grow, but this becomes difficult when the soil is too dense to move through. A combination of compacted and saturated soil also makes it difficult for air to dry out the soil and provide oxygen for the roots. This often results in root rot!

How to loosen compacted soil and improve soil aeration
You can help loosen dense soil with two simple techniques—and thankfully, neither take much work!

Technique 1: Use a chopstick to gently poke holes in your plant’s soil. Try to create a tunnel down to where you think the greatest number of roots live. There may be some resistance, depending on how dense the roots are, so try not to force a hole. Once you’ve created several holes in the soil, water your plant, paying attention to watering over the holes. Creating this space will help water and air get to where it needs to go!

Technique 2: Create a new combination of potting mix, aerating materials (such as peat moss, vermiculite, or perlite), and even sand, depending on the type of plants you own. This new mixture will not only have the proper nutrients from the fresh soil but the proper aeration from the added materials. Remove all the old soil from your plant, then repot it into this new soil mixture and water thoroughly! You should see a noticeable change in the color and growth of your plant.


Have you experienced problems with compacted soil? How have you combated this issue with your plants? Tell me in the comments!

XO,
Micah
4 Benefits of Bottom Watering Houseplants

bottom watering houseplants

Remembering to water your houseplants regularly can be a challenge, so you may not be overly excited to hear that there is more than one way you can give them a drink. The good news is, the only wrong way to water plants is not to water them at all! But there might be a better way to ensure your plants are getting the soaking they need—bottom watering.

While bottom watering houseplants isn’t uncommon, it may not be a technique you’ve tried before. Most of the time, plant owners are instructed to water their indoor plants from the top down. While adequate, this can sometimes lead to problems that can be effectively mitigated with watering from the bottom up. Let’s see how!

What is bottom watering?
Like the name suggests, bottom watering means you’re giving your plants a soak from the base of the pot to the top of the soil. The process begins by placing the plant pot inside a larger container, then filling the container 2-3 inches high with water. Watering your plants from the bottom over a 10-15 minute period allows your houseplants to take in as much water as it needs. When the soil feels moist an inch below the surface, you know your plant has soaked long enough. The top soil will remain dry, but that’s okay. Here are the main benefits of bottom watering houseplants:

  1. More thorough watering. Letting houseplants slowly soak water from the bottom up provides a more even and thorough watering. Often, top watering doesn’t provide enough coverage and can leave the bottom-most roots still dry. Bottom watering allows for greater control over how much they drink and provide a better watering overall.
  2. Less soil compaction. Plants that are only watered from the top down can put unnecessary pressure on the soil. Over time, this soil becomes hard and compacted, making it more difficult or impassive for adequate water flow. Watering plants from the bottom helps avoid this risk while keeping your plants from suffering underwatering.
  3. Stronger root system. Bottom watering introduces water to the roots faster and longer. This encourages the roots to grow downward as they should, instead of reaching up to water poured from the top. Well-watered roots better ensure strength and longevity for your indoor plant.
  4. Reduced risk of pests. Common houseplant pests, like fungus gnats, accumulate and breed in the moist soil that results from top watering. Watering your plants from the bottom can help reduce the risk of attracting these pesky flies in the first place. While it won’t deter all pests, watering your plants from the bottom can prevent a lot of them!

Bottom watering your houseplants has numerous benefits, but don’t feel like this is your only option! This method is ideal for smaller plants or those that don’t like getting their leaves wet. But it’s also a good idea to occasionally water your plants from the top to flush out minerals or hard water deposits. What is your favorite way of watering and what benefits have you seen? Let me know in the comments!

XO,
Micah

4 Simple Techniques for Cleaning Indoor Plants

cleaning indoor plants golden pothos

When cleaning your home, you may not stop to think about spending a little extra time cleaning your houseplants as well. After all, who really wants to add more tasks to their chore list? But unlike bookshelves and baseboards, cleaning indoor plants has more than aesthetic benefits. It’s actually a health advantage for your plants, and one they rely on to grow properly. Too much dust layered on their leaves and your plants will struggle to properly absorb sunlight and feed themselves through photosynthesis. Thankfully, cleaning indoor plants is a fairly straightforward process!

How Often Do I Need to Clean My Houseplants?
The first question you might be wondering is if you need to add plant cleaning to your to-do list, how often is it needed? The answer largely depends on how dusty your climate is and how quickly it accumulates on the leaves. To start, give your plants a thorough inspection every time you water (generally every 1-3 weeks). If your plant looks clean, wait a few more weeks. If its leaves look coated in dust or debris, it’s time to implement one of these four simple techniques for cleaning indoor plants:

  1. A rinse in the shower
    An easy way to clean larger indoor plants is by giving them a shower! If your water pressure is lighter, this can be accomplished by simply placing your plants in the bathtub and turning on the shower. If you have a removable shower head, spray them gently with lukewarm water until clean. The bathtub is also a convenient place to let your plants air dry.
  2. A scrub with a soapy sponge
    For plants with larger or stiffer leaves, such as the Snake Plant, using a soapy sponge can be a good alternative to giving your indoor plants a shower. A soapy cleaning is ideal when leaves are extra grimy or have a thick, tough layer of dust. Just be sure to use a non-abrasive sponge and keep leaves properly supported as you clean them, so they don’t accidentally snap.
  3. A soft feather dusting
    Some indoor plants are too fuzzy or fragile for a traditional cleaning with water. In these instances, using a feather duster can have a similar effect. Gently brush leaves with the duster until the debris is coaxed off the surfaces. Another option is to use a microfiber cloth to remove dust at the same frequency you dust other areas of your home.
  4. A thorough misting
    A foolproof method for cleaning any of your indoor plants, especially those with many small leaves, is with a mister. Fill your mister with lukewarm water, then gently spray down the leaves in the morning. This will give your plant a chance to dry out during the day. Be sure to mist the top and bottom of the leaves and mist enough to fully saturate the leaves with water.

Once you’re done cleaning indoor plants, remove any dead leaves and stems to keep them as healthy as possible. Your plants will show their appreciation by growing lush and strong! How do you clean your indoor plants? I’d love to read your comments!

XO,
Micah